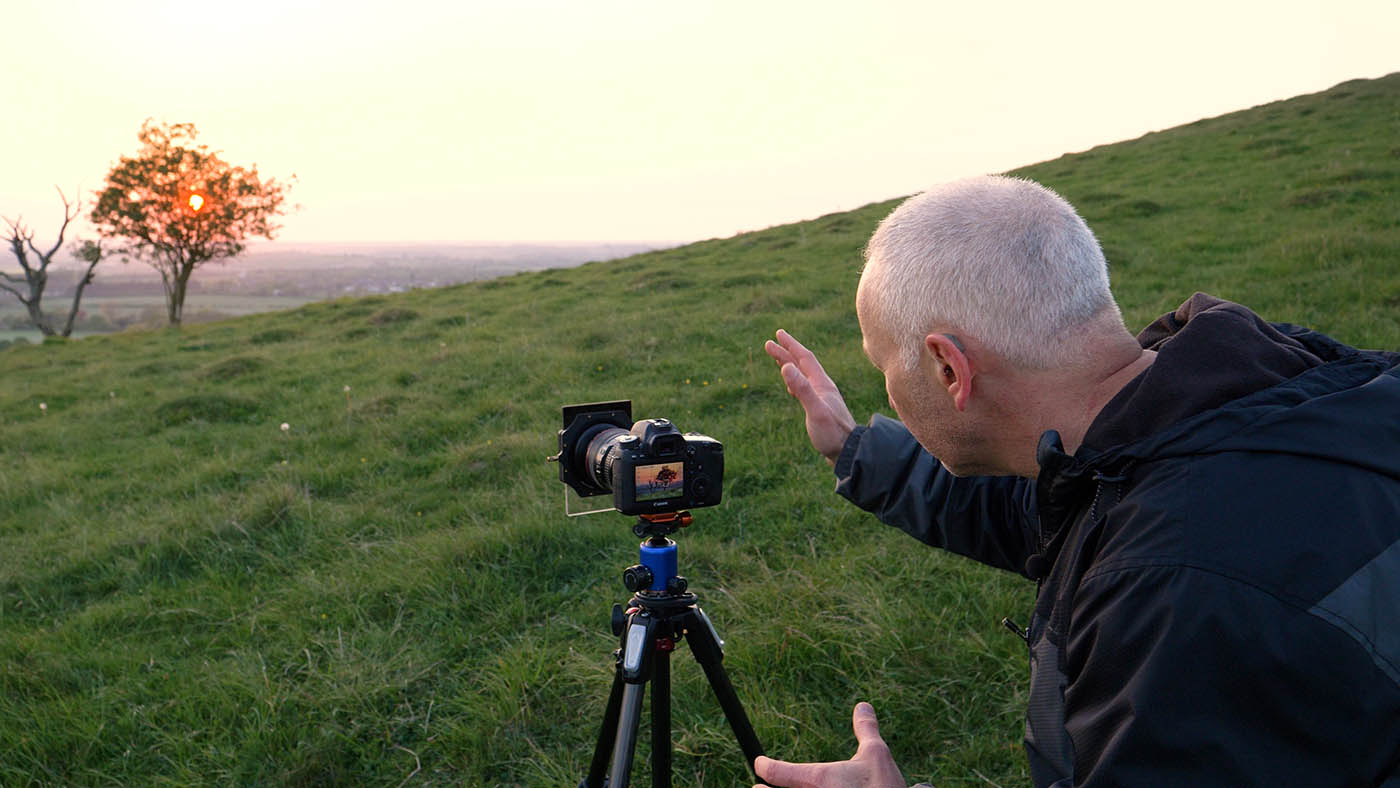
Use bounce flash and light modelling to get a more creative portrait
You've already seen in a previous film how you can bounce the flash off walls and ceilings when using an external flashgun that has a swivel head (most do!). Bouncing the flash gives a nice overall soft light, but is it possible to use on-camera flash flash to take slightly more creative flash portraits, images that looks a little more polished than a standard bounced flash portrait? Yes it is.
Watch the film to learn more.
Details of the Gobo / flag:-
The material is available from craft shops and is called 'Funky Foam'.
You can also find it on Ebay, it's not expensive and usually comes in A3 or A4 sheets.
The dimensions of the one shown in this film is 11cm x 15cm, with 50cm diagonal cut outs at the bottom.


Very interesting. Any chance you might make a video on use of continuous portable light sources such as the increasingly popular hotshoe-mounted LED lights that are quite cheap these days? I know they’re more popular for video work but some are using them for stills too. Also, what about light modifiers such as the Gary Fong lightsphere, sto-fen, etc?
Hi Marco, I don’t have any plans for a video on continuous light sources, I don’t know too much about them. But it seems to me that Speedlights are a lot more flexible. You can bounce the flash easily and also use modifiers such as cards, foam, softboxes, umbrellas etc…
I’m not a big fan of the Gary Fong lightsphere as I like to be able to create light and shadow by bouncing and flagging off the flashgun as you saw in this video.
The Stofen Omnibounce type modifiers, don’t really soften the light as the light source is still the same size, but when used indoors they do fill in the shadows by bouncing the light around everywhere. I see people using them outside, (possibly trying to bounce the light off the clouds!), all that does is lose them 2 stops of flash power.
When you’re after a simple portraits or at a get-together, and don’t want any dramatic type of lighting, just an all-round nice soft light, my recommendation for a flash modifier is the cheap and cheerful Better Bounce Card which I use a lot. You can make these yourself from Funky Foam (available from craft shops or ebay in A4 sheets that you cut). I’ll probably make a film about this soon.
Hope this helps,
Cheers,
Bernie
Hi
How about advice re camera settings Manual or Semi-auto and the settings on Speedlight.
I have used A priority on camera with iTTL BL on speedlight with bounce from ceiling with a 50mm 1.4 – get slightly under exposed!
Look forward to your thoughts.
TV
Hi Tan,
Thanks for the questions and first of all I ‘d like to welcome you as a member.
In your first question i can’t tell whether you wanted more info about manual / semi-auto settings in general , or Speedlight settings in conjunction with Manual or Semi-Auto? Most of the ‘settings info are in Part II of the course, there’s some useful info about flash here:-
http://becomeabetterphotographer.co.uk/using-flash-2/
See this page to locate some videos on manual / semi-auto etc. http://becomeabetterphotographer.co.uk/become-better-photographer-part-ii-curriculum/
Regards your second question, the iTTL BL mode is really for fill-in flash (‘Balanced Mode’, to balance background and foreground light, as far as I’m aware, it’s a Nikon only feature), I tend to use this mode outside for portraits, flash on camera, no modifier, power dialled down to around -1.7. Inside, when bouncing, I switch to straight iTTL mode ratyher than iTTL BL, if you’re seeing some underexposure you can do several things, up the iTTL power on the flash a little (tha’s the easist way), or if in A or S or P mode, use exposure compensation, if in Manual mode, open up the aperture or bump up the ISO
Generally speaking, try to keep the aperture fairly wide when using bounce flash, as the flash doesn’t have to work so hard.
Hope that helps,
Cheers,
Bernie
Appreciate such a prompt response. Thank you. Have seen the videos. Beginning to understand. A beginner. Hope to improve as I learn more from your course. So glad I discovered you.
Are you planning a video or two on post production. Also what software would you recommend for a beginner?
TV
Hi Tan, no I won’t be making any videos on post production because I feel that the subject is covered very comprehensively in tutorials by other people.
I would recommend Adobe Lightroom for your post production, it’s a beautiful piece of software, and quite easy to use, and brilliant for working on several photos at a time, for example when you come back from holiday with a load of photos. Alternatively Photoshop Elements is very good, and more suited for working on individual images at pixel level.
Hope that helps,
Bernie
Hi Bernie, Great videos. I’m really pleased across your site. It provides a lot of practical information, well delivered and I enjoy your sense of humour!
I notice in the reply to Marco above, you recklessly promised to make a film about making a home made version of the better bounce card. Is that still in the pipeline – or could you post some simple instructions? I would be very interested to make one.
Thanks.
Hi John,
Heh heh!, yes, ‘recklessly’ is the right word, it was always in my mind to make a video about using the ‘Better Bounce Card’, but I never dd get round to it and started to make videos on other subjects – sorry about that! But very briefly here’s what I do.
The cards are made from Funky Foam (search using that name on eBay). I use 2 different sizes. Small one is 5″ wide at top, 4″ wide at bottom, height is 3.5″. Large one is 6.6″ wide at top, 4.5″ wide at bottom, 6″ high. I just cut an A4 sheet to those sizes
I use the small card when I have a nearby wall to bounce off. I attach the bottom of the card to the narrow edge of the flash using a wide rubber band. I can then swivel the flash head around to point at side walls or even behind me if there is a wall close behind. Flash would normally be on TTL when I do this, close to 0 EV
I use the large card when there are no walls to bounce off, I attach the bottom of the card to the wide edge of the flas and just point the card forward. Again flash would normally be on TTL, close to 0 EV
By the way, when the card is on the flash, you can just fold it down to pack away, no need to even take it off the flash!
Hope that helps, glad you’re enjoying the videos.
Cheers,
Bernie
Hi Bernie,
Thanks very much for this very helpful set of instructions. I’ll give it a try.
John